
Paint & refinish
Auto Painting & Refinishing in Garland
Collision repaint, sun-faded clearcoat or a fleet van that needs to look professional again. The finish is only as good as the prep underneath it.
Talk color and prep with the shop — (000) 000-0000The Finish Is Won or Lost in Prep
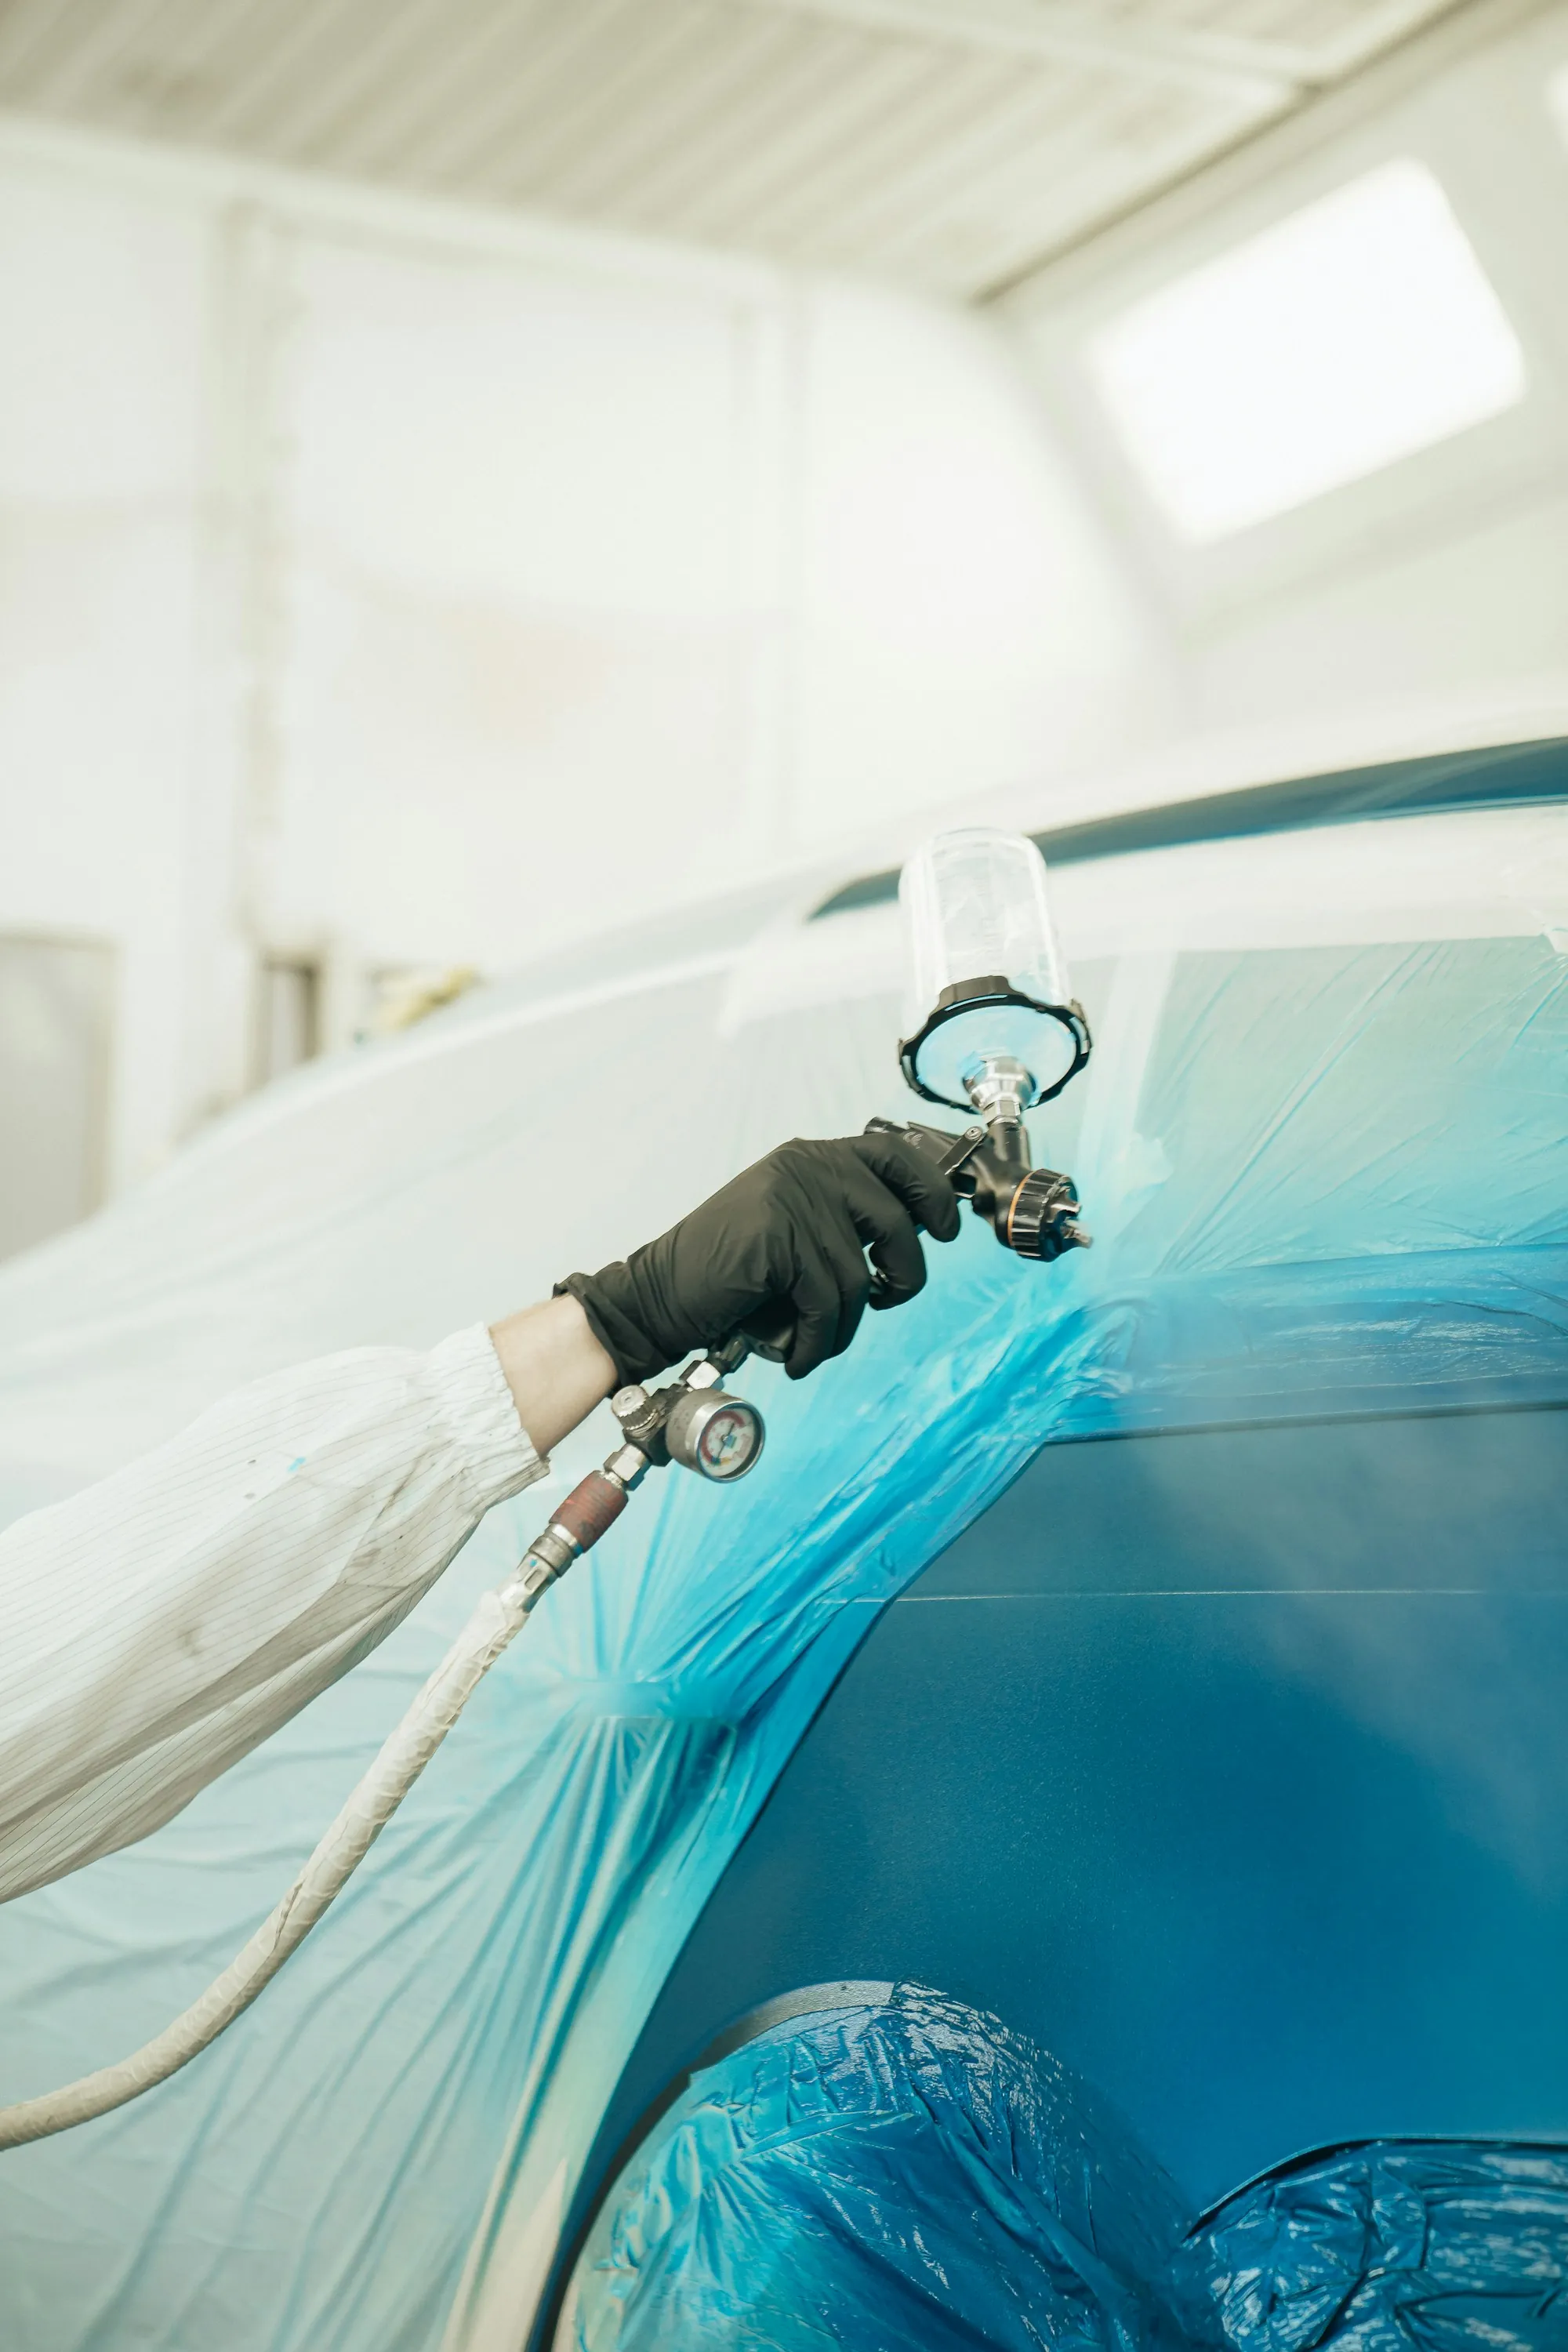
Most of a paint job's quality is decided in prep. Panels are cleaned, sanded, repaired where needed, primed and blocked flat before any color goes on. Then the color is mixed from the vehicle's paint code and compared against the actual car, because factory colors vary from batch to batch. Basecoat and clearcoat are sprayed in a booth that keeps dust and overspray off the finish. The Texas sun is hard on clearcoat, and we see plenty of hoods and roofs around Garland that have faded or peeled after long stretches parked outside. Whether it's one panel after a crash or a full refinish, the process stays the same.
Refinishing Work We Handle
From a single bumper cover to the whole vehicle, here's what falls under paint and refinish.
Panels repainted after a crash
Repaired and replaced panels are painted to match and blended into the adjacent panels so the color transitions cleanly.
Failing clearcoat
Sun-damaged clear is sanded off and the panel is refinished, since spot repairs on peeling clear rarely hold.
Complete exterior repaints
For a whole-vehicle refinish, trim, lamps and handles come off so paint covers the edges instead of stopping short of them.
Fleet and company vehicles
Vans and trucks that carry a business name get their panels and color brought back to a clean, uniform look.
Test panel sprayed before the car
We spray a sample swatch of the formula and hold it beside your vehicle, and the formula is adjusted before the real panel sees paint.
Color faded across seams
New color is feathered into the panel beside it, which hides the edge where fresh paint meets original.
Flexible coatings for plastic
Bumpers and mirror caps get adhesion promoter and a flex additive so the paint moves with the plastic instead of cracking.
Wet-sand and polish
After curing, the clear is wet-sanded and polished where needed to match the texture of the factory finish.
How a Panel Goes From Bare to Glossy
- 01
Sand, prime, block
Old paint is sanded, any damage is repaired and the panel is cleaned of wax and oils. Primer goes on and is blocked flat so the surface is truly level. Areas that won't be painted are masked off tightly. A thorough prep stage is what keeps the new paint from lifting later.
- 02
Mix, test, spray
We mix the formula, hold a sprayed sample against the car and tweak it if needed. Inside the booth, color is laid down in uniform layers. Clearcoat follows for gloss and protection. The panel then cures under controlled conditions.
- 03
Unmask, reassemble, check in sunlight
Masking comes off and trim goes back on. We check the color in sunlight and under shop lights, since some shades shift between the two. Any dust nibs are wet-sanded and polished out. You see the finished panel before the car leaves.
What Sets the Finish Apart Here
Prep gets the time it needs
Rushed prep is the main reason paint fails. We don't skip sanding, priming or blocking to save a step.
Color checked against the car
A paint code gets you close, and the spray-out card gets you right. We compare before the panel is painted, not after.
Daylight gets the last word
Paint can look perfect under booth lights and wrong in the sun. We check it outside before handing over the keys.
Paint Faded, Scratched or Crash-Damaged?
Walk us through what the finish looks like and which panels are involved, and we'll lay out the options. If you're driving over from Mesquite or Dallas on I-30, the shop is an easy stop.
Ask about your paint job — (000) 000-0000